
Getting Started with Your First Rain Barrel
Complete walkthrough of barrel selection, placement, and connecting your first downspout. We'll cover the basic setup you can do in an afternoon.
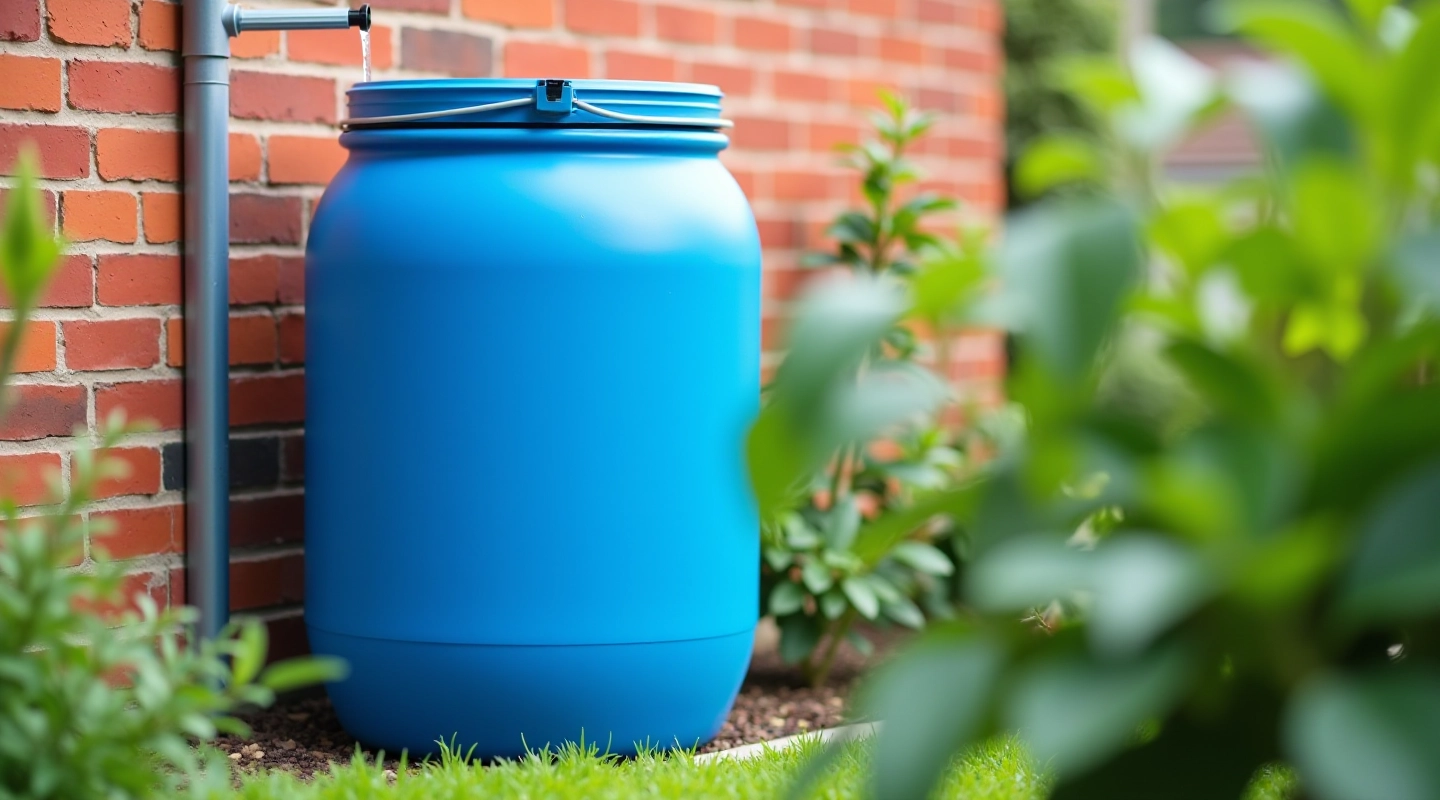
Why Start with a Rain Barrel?
Water conservation doesn't need to be complicated. A rain barrel captures the water that'd otherwise run off your roof, giving you a free supply for your garden. It's practical, straightforward, and you'll notice the difference during dry spells.
The best part? You don't need special plumbing skills. Most setups take 2-3 hours and use basic materials you can find at any hardware store. We're going to walk through exactly what you need, where to put it, and how to connect everything without any headaches.
Capture Free Water
A typical roof collects thousands of gallons annually. Your barrel stores what you'd normally waste.
Simple Installation
No plumbing experience required. Most first-time setups work perfectly the first time.
Better for Plants
Rainwater's slightly acidic nature means plants absorb it better than treated tap water.
Choosing Your First Barrel
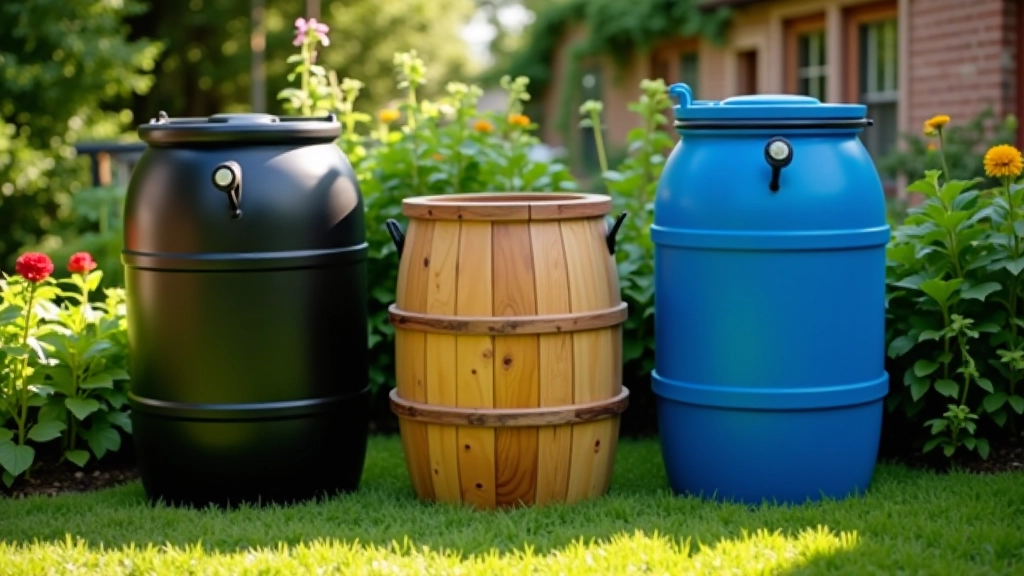
Size matters, but it's not as complicated as you'd think. A 50-55 gallon barrel is the sweet spot for most home gardens — big enough to handle a decent rainfall, small enough to position anywhere without breaking your back.
You've got three main material options. Plastic barrels are lightweight and affordable. They don't rust and you can paint them if you want them to blend in. Wood barrels look beautiful but need regular maintenance to prevent rotting. Metal barrels work too, though rust becomes an issue unless you seal them properly.
For a first barrel, we'd recommend starting with food-grade plastic. It's durable, requires almost no maintenance, and you won't spend hundreds of dollars on your first try. Once you get the system working, you can always add a second barrel later.
Typical First-Barrel Specs
- Capacity: 50-55 gallons
- Material: Food-grade plastic
- Height: 32-36 inches
- Diameter: 23-24 inches
- Weight when full: 400-450 pounds
Finding the Right Spot
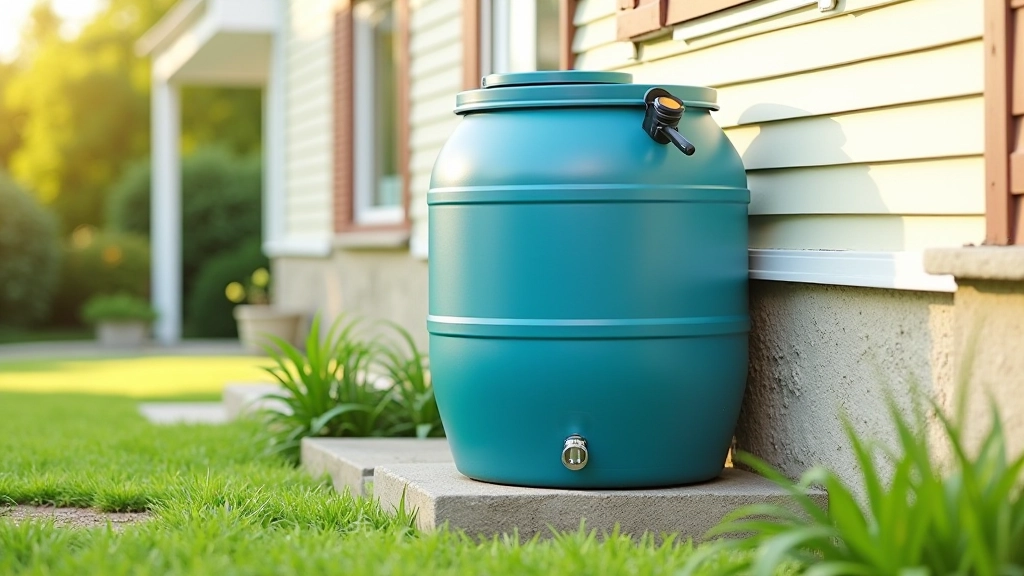
Location is everything. You want your barrel as close as possible to where you'll use the water — ideally near your garden beds or outdoor faucet. This cuts down on hose length and makes filling your watering can less of a hassle.
The ground needs to be level. Not roughly level — actually level. An uneven barrel will stress the seams and eventually leak. Spend 15 minutes checking with a level before you fill it. If your ground slopes, you can create a small platform using concrete blocks or a level wooden base.
Position it so the downspout feeds directly into the top opening. You don't want to be running a long gutter to reach the barrel. If your nearest downspout is more than 10 feet away, you might need to reconsider placement or extend the downspout (which adds another small project).
Sunlight: Some sun is fine. Too much direct sun can encourage algae growth, but a few hours daily isn't a problem.
Drainage: Make sure water won't pool around the base during heavy rain. Position it where excess water can drain away.
Access: You'll need room to access the tap and overflow valve. Don't wedge it into a corner.
Step-by-Step Installation
The actual setup is simpler than you'd expect. You're basically connecting a gutter to a tank. Let's break it down into manageable pieces so nothing goes wrong.
Prepare Your Base
If your ground isn't level, lay down concrete blocks in an even pattern. Check the top surface with a level — it should be dead flat. Place a thin layer of sand if needed to even out any remaining slight variations.
Position the Barrel
Set the barrel on the base. If it has pre-drilled holes, make sure they're accessible. The top opening should be directly below or very close to your downspout. Don't force it — if the alignment is off, reposition before filling.
Connect the Downspout
Most barrels come with a flexible downspout adapter or you can buy one separately. Slide it onto your existing downspout and position the other end so it drains into the barrel opening. It doesn't need to be sealed tight — gravity does the work.
Add the Tap and Overflow
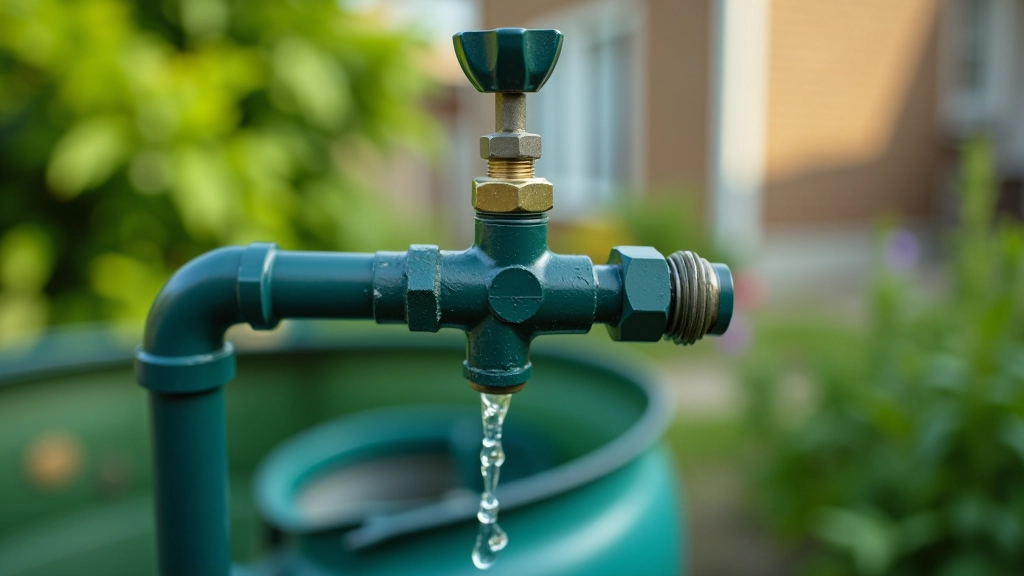
Install the tap near the bottom — that's your water outlet. It usually just screws in with a washer. Position the overflow valve near the top. During heavy rain, overflow water runs out through this valve instead of overfilling the barrel.
Test and Adjust
Fill it with a hose to test everything works. Check for leaks around the tap and connections. If water drips, tighten slightly — don't overtighten or you'll crack the fitting. Once the first real rain comes, watch how water flows and adjust if needed.
Keeping It Working Well
Once it's set up, a rain barrel doesn't demand much attention. You're not maintaining complex equipment — just keeping water clean and the connections secure.
Check the tap occasionally to make sure it opens and closes smoothly. If it gets stiff, a little lubricating oil helps. Look at the overflow valve each season to ensure nothing's blocking it. A clogged overflow during heavy rain can cause water to spill over the barrel sides instead of flowing out properly.
In autumn, clear any leaves or debris that've collected in the barrel. A net over the top opening catches most debris before it gets in. If you live somewhere with freezing winters, you'll want to drain the barrel in late fall — standing water expands when it freezes and can crack plastic.
Monthly & Seasonal Tasks
Monthly: Test the tap. Look for visible leaks. Clear any debris from the surface.
Spring: Check overflow valve. Inspect connections. Clean the barrel interior if you see algae.
Fall: Install a leaf net. Start planning for winter draining in cold climates.
Winter: Drain completely if freezing temperatures are expected. Store the tap and overflow valve indoors.
Important Disclaimer
This guide provides general information about basic rain barrel installation and maintenance. While we've covered typical setups, your specific situation may differ based on local climate, roof materials, building codes, and water regulations. Before installing a rain barrel, check with your local municipality or water authority — some areas have specific regulations about rainwater collection. If you're unsure about any step, consult a qualified contractor. The information here is educational and intended to help you understand the process, not as professional installation or maintenance advice.
Primaxvale Editorial Team
Editorial Team
Written by the primaxvale editorial team, focused on practical rainwater harvesting and drip irrigation guidance.
Continue Learning
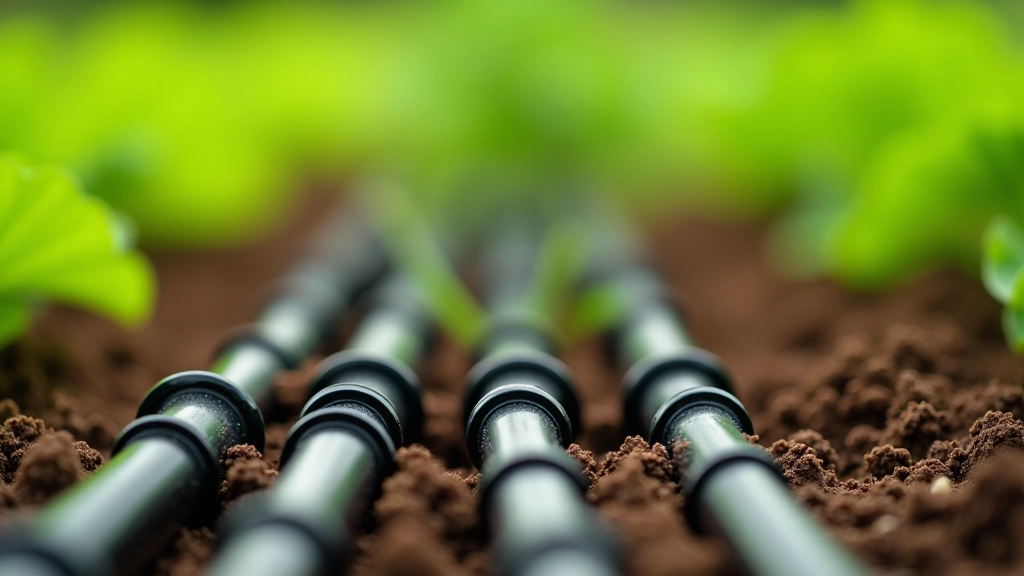
Installing Drip Irrigation from Your Barrel
Step-by-step guide to running drip lines from your barrel. Covers hose selection, emitter spacing, and pressure regulation for efficient watering.
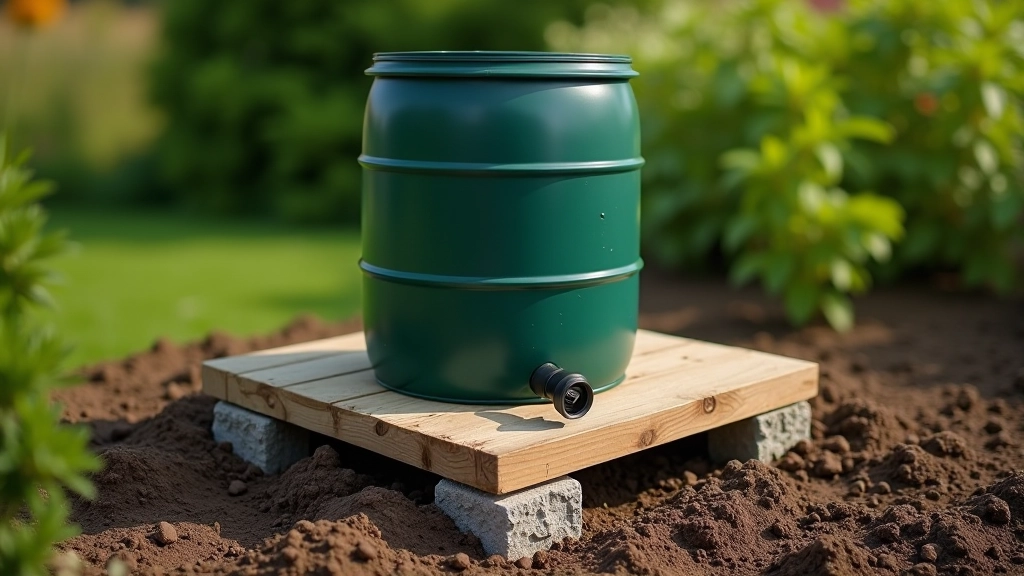
Proper Barrel Placement and Foundation
Choosing the right location matters. We discuss weight distribution, ground stability, and creating a level base that'll last for years.
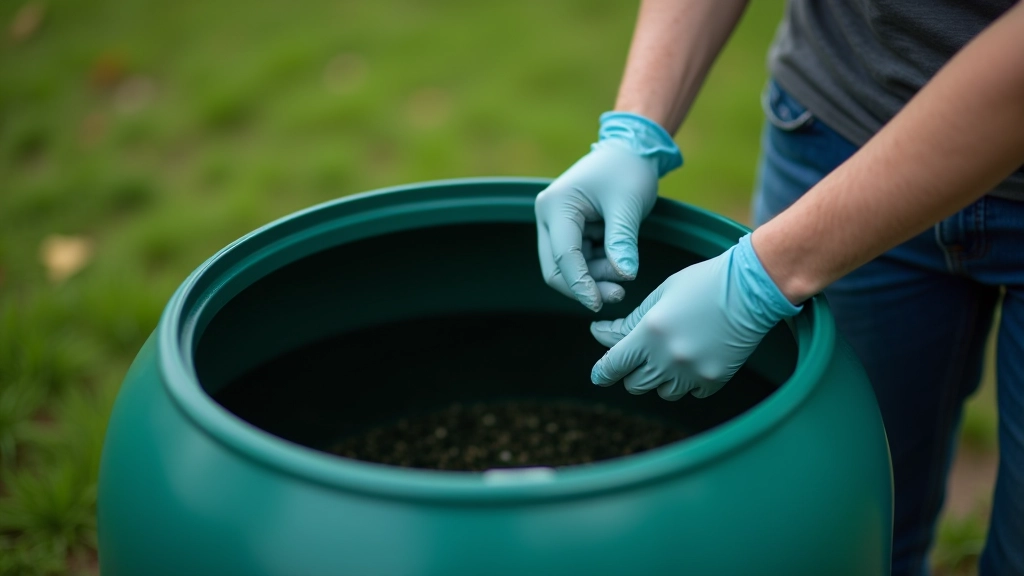
Seasonal Maintenance and Cleaning Tips
Keep your barrel working well year-round. Learn how to prevent algae, clear sediment, and prepare for seasonal changes without complicated procedures.