
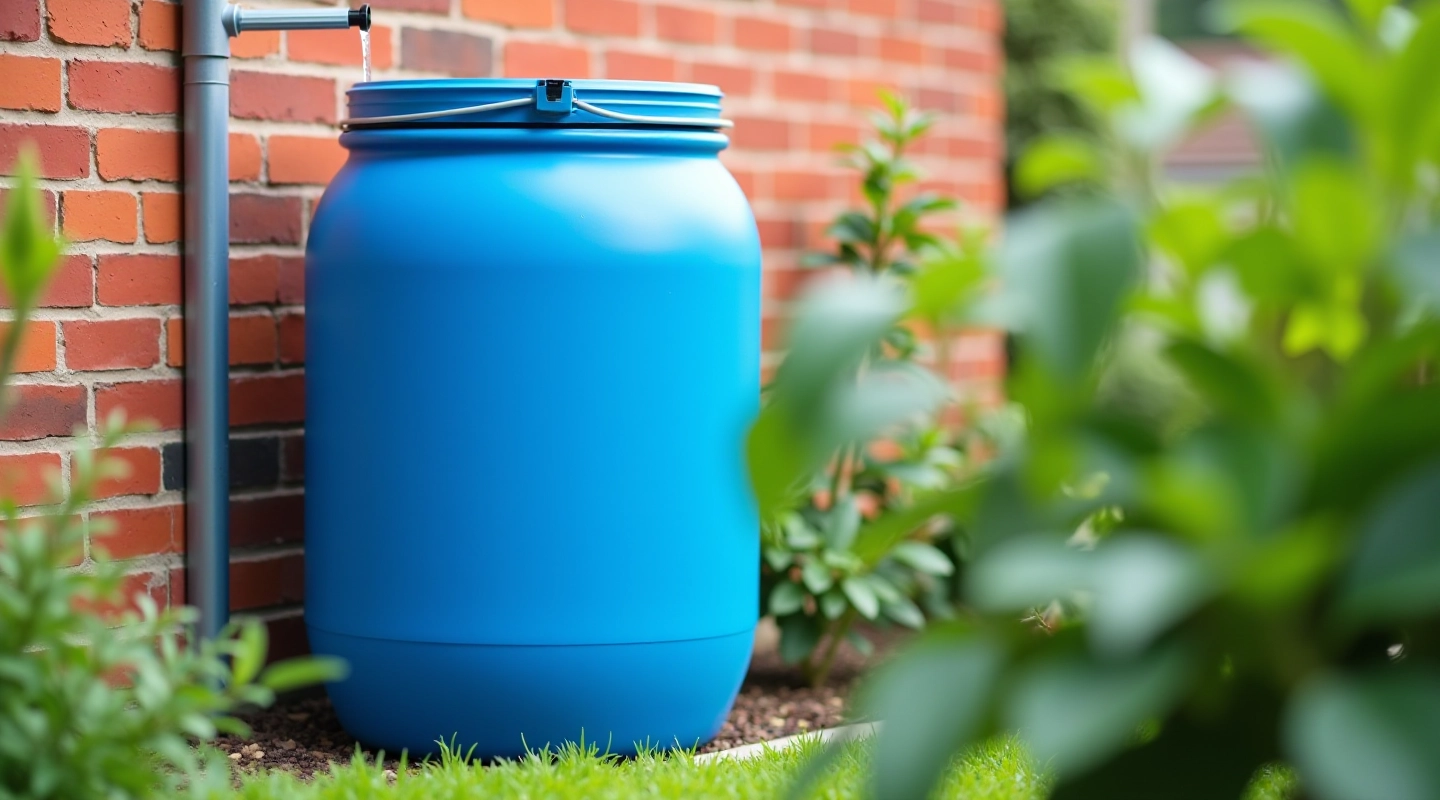
Getting Started with Your First Rain Barrel
Complete walkthrough of barrel selection, placement, and connecting your first downspout for water collection.
Step-by-step guide to running drip lines from your barrel. Covers hose selection, fitting connections, and adjusting water flow for different plants.
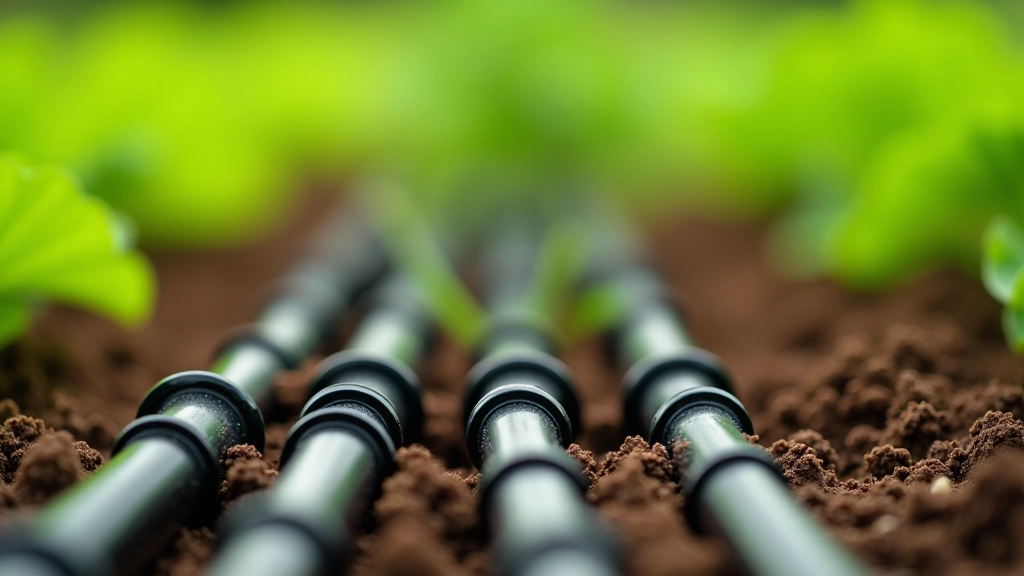
Once you've got your barrel set up and filled with rainwater, the next logical step is getting that water to your plants efficiently. Drip irrigation isn't complicated — it's actually one of the smartest ways to water a garden. You're delivering water right where the plants need it, at soil level, which means less evaporation and less waste.
The beauty of a drip system from your barrel is that it works without pumps or electricity in most cases. Gravity does the heavy lifting. You'll save time hand-watering, reduce water consumption by up to 50% compared to sprinklers, and your plants will thank you with healthier growth. Plus, you're using rainwater — free water that would've just run off anyway.
You've got a few options here, and what you choose depends on how far your water needs to travel and what pressure you're working with. Most barrels sit about 3-4 feet high, which gives you decent pressure at the base — roughly 2-3 PSI (pounds per square inch) depending on how full your barrel is.
For the main line coming out of your barrel, use 1/2-inch soaker hose or 1/2-inch drip tubing. This is your primary line, and it handles the volume better. Don't go smaller — you'll lose too much pressure. As you branch out to individual plant rows or raised beds, you can drop down to 1/4-inch tubing. That narrower line is flexible, easier to route around plants, and you can puncture it for drip emitters.
Black polyethylene tubing is your standard. It's UV-resistant, lasts 3-5 years outdoors, and costs very little. Avoid clear plastic hoses outdoors — algae grows inside them within weeks. If you're burying any lines or want maximum durability, consider reinforced tubing, though it's thicker and harder to work with.
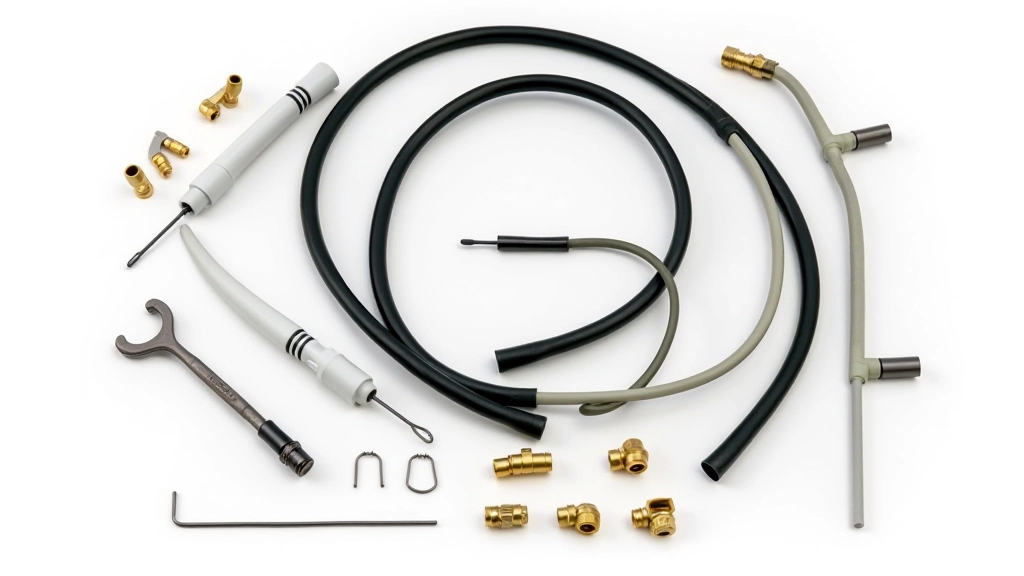
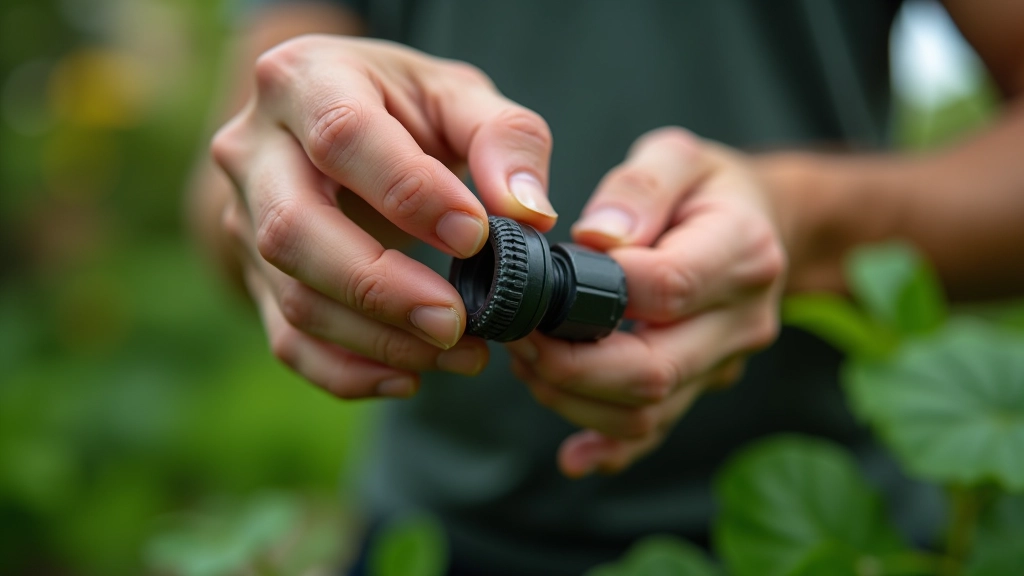
Here's where precision matters. Most drip systems use barbed fittings — those little cone-shaped connectors that grip the inside of your tubing. The trick is getting them seated properly without forcing the tubing and causing splits.
For a 1/2-inch main line, you'll typically need 1/2-inch barbed fittings. For 1/4-inch branch lines, use 1/4-inch barbed fittings. Push the tubing onto the barb firmly but smoothly — it should go about 1/2 inch onto the barb. Don't twist it. If you're connecting to your barrel's spigot, you'll likely need a 3/4-inch female thread to 1/2-inch barbed adapter.
On cool mornings, the tubing gets stiff. Run warm water over the end of your tubing for 30 seconds and it becomes more pliable. Makes inserting barbed fittings much easier and reduces the risk of tubing splitting.
Emitters are where the actual water comes out. You've got several styles: drip emitters that deliver a steady drop, in-line drippers built into tubing, and micro-sprayers for broader coverage. Most home gardeners use drip emitters — they're cheap and reliable.
With 1/4-inch tubing, you'll use a punch tool to create small holes where you want emitters, then insert the emitter barb into that hole. Space them based on your plants' water needs. Tomatoes and peppers typically need an emitter every 18-24 inches. Leafy greens and herbs can share one emitter between 2-3 plants. Thirsty plants like squash might need their own emitter every 12 inches.
Start with your plants getting about 1 gallon per hour per emitter. You'll quickly learn which plants thrive at that rate and which need adjustment. It's not exact science — it's observation.
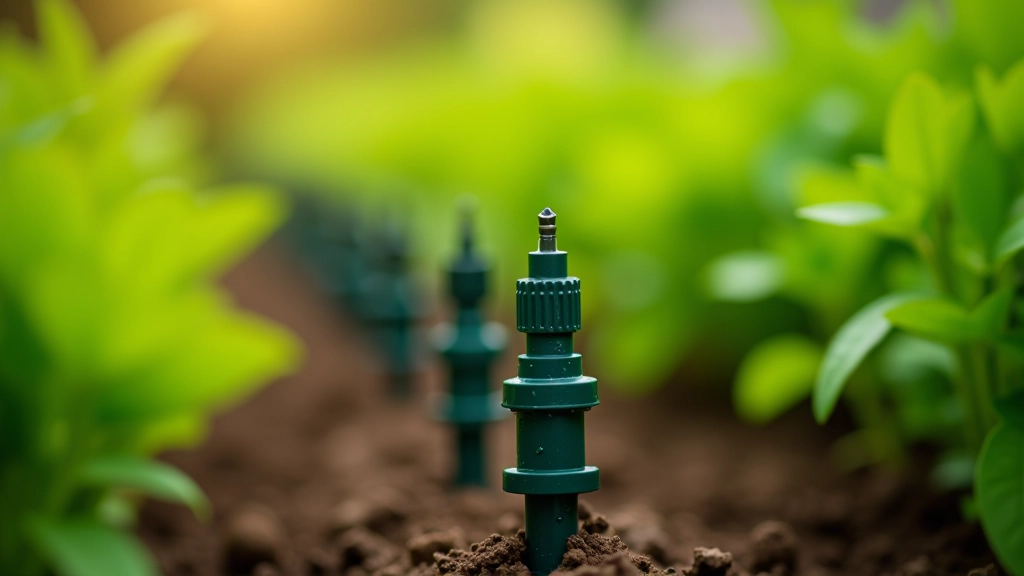
This guide provides educational information about drip irrigation installation. Actual results depend on your specific climate, soil type, barrel size, and plant varieties. Always test your system before relying on it for critical plantings. If you're installing a system for commercial use or in areas with specific water regulations, check with your local authorities about any permit requirements or water usage guidelines.
Don't overthink this. You don't need perfect planning or expensive equipment. A basic drip system from your barrel — main line, a few branch lines, and some emitters — will transform how your garden drinks. You'll use less water, your plants will be healthier, and you'll spend less time dragging a hose around.
Start small. Pick one garden bed or section and get it set up. Run it for a week and watch how the soil responds. You'll quickly understand what works. Then expand from there. The best drip system is the one you actually use and adjust as needed.
Ready to master more aspects of barrel setup? Explore our other guides on placement, maintenance, and seasonal care.
Browse All Guides
Editorial Team
Written by the primaxvale editorial team, focused on practical rainwater harvesting and drip irrigation guidance.
Complete walkthrough of barrel selection, placement, and connecting your first downspout for water collection.
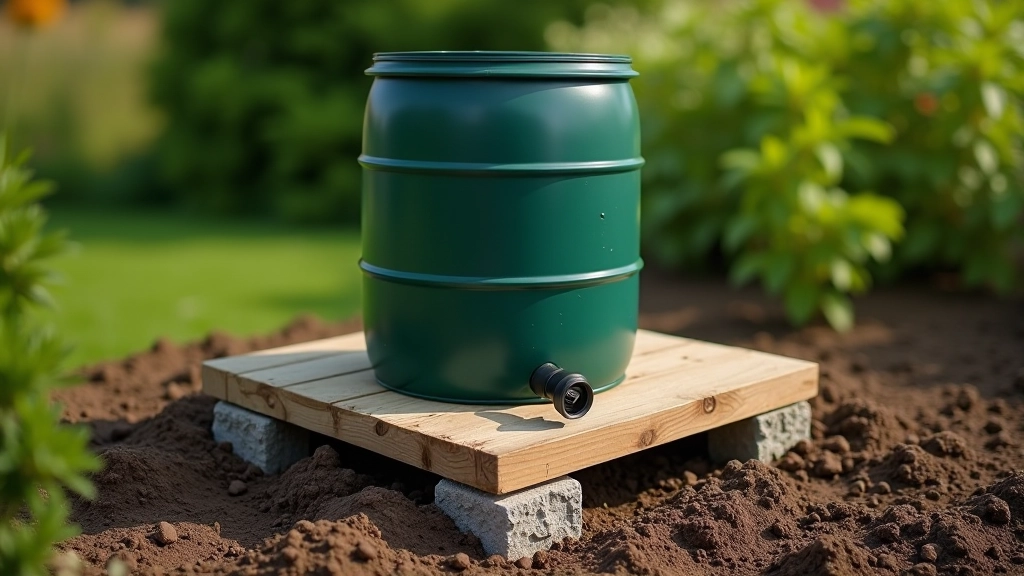
Choosing the right location matters. We discuss weight distribution, ground stability, and access for maintenance.
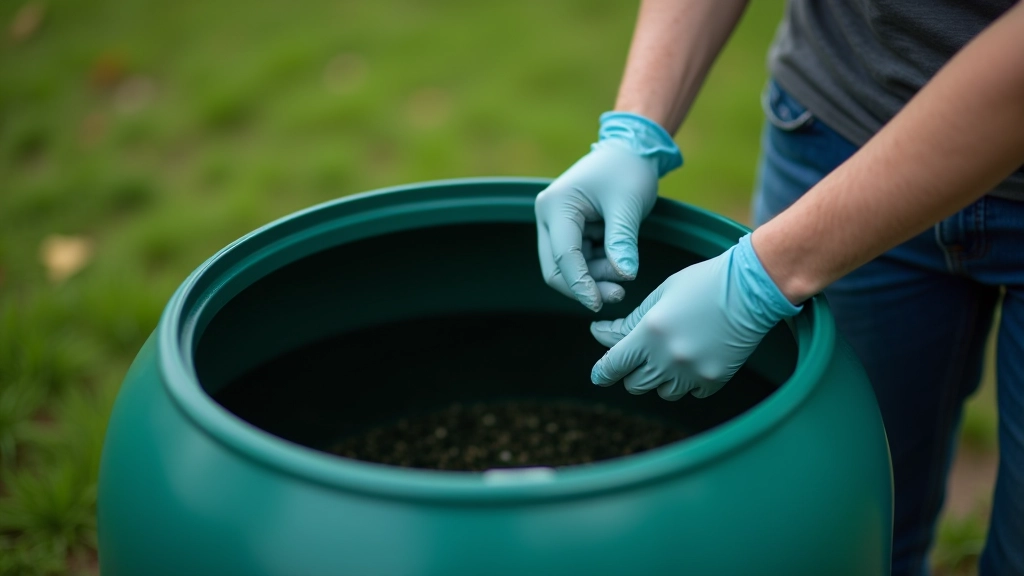
Keep your barrel working well year-round. Learn how to prevent algae, clear sediment, and prepare for winter.